Ube Cookies
with Cheesecake Bark
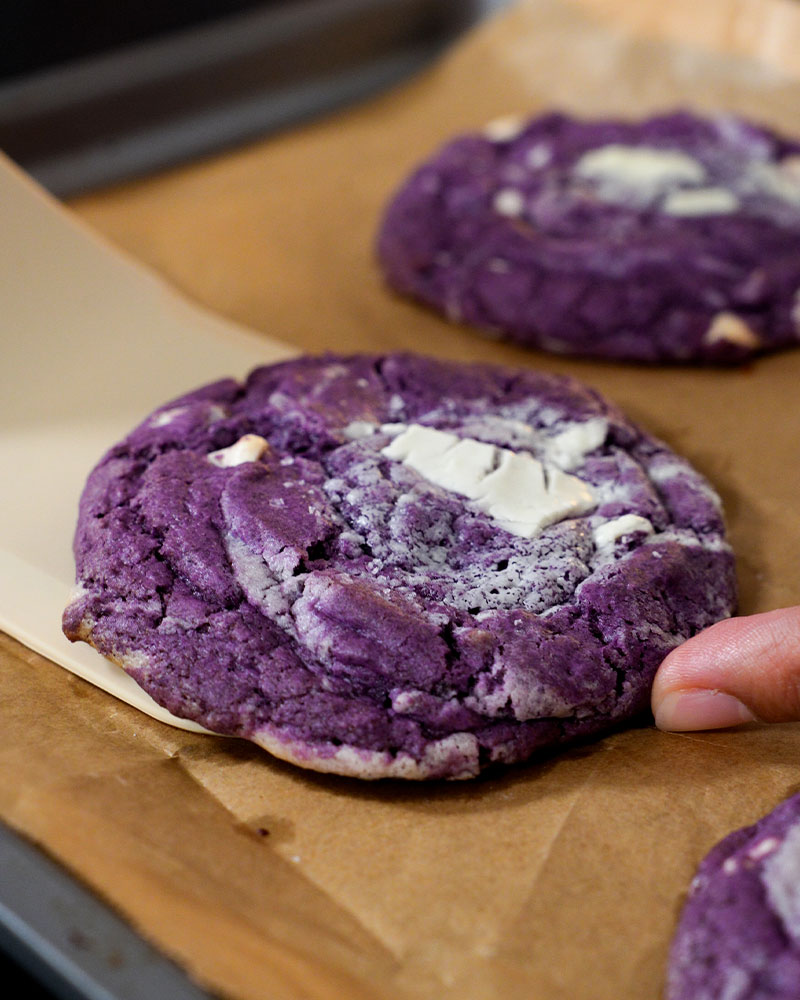
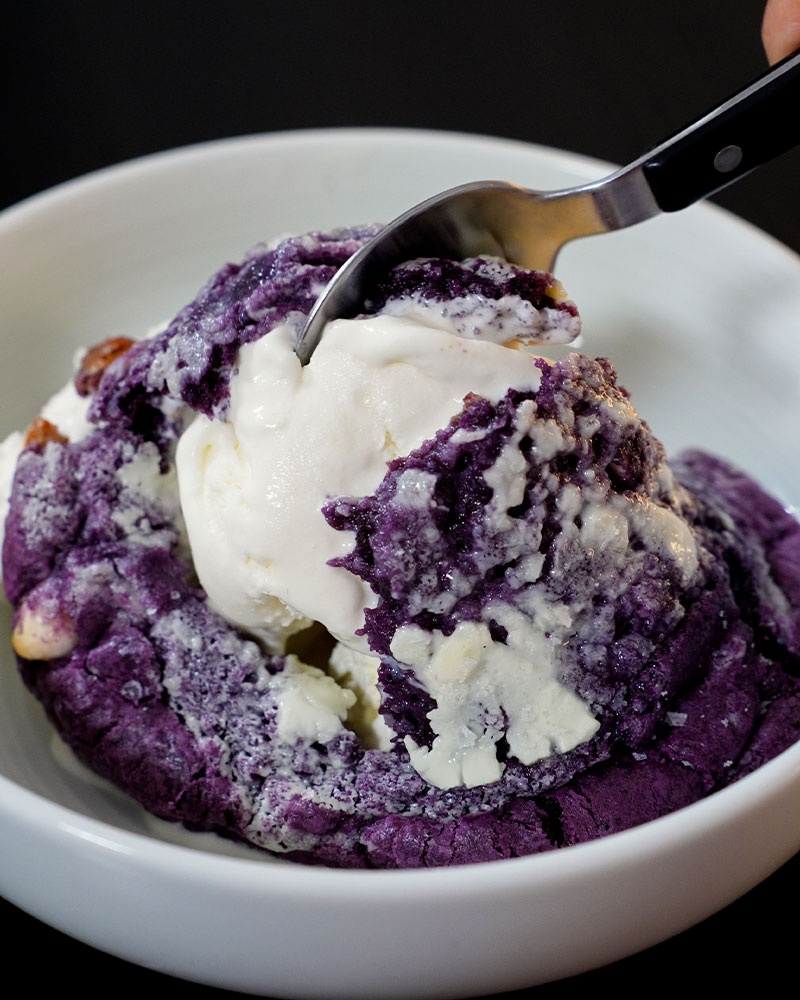
These Ube Cookies are chewy, buttery and packed with nutty ube flavour, browned butter and white chocolate. Topped with a creamy ube cheesecake bark and a sprinkle of sea salt, they’re my first creation in my journey as a mad cookie scientist.
by hungrycuriouskat
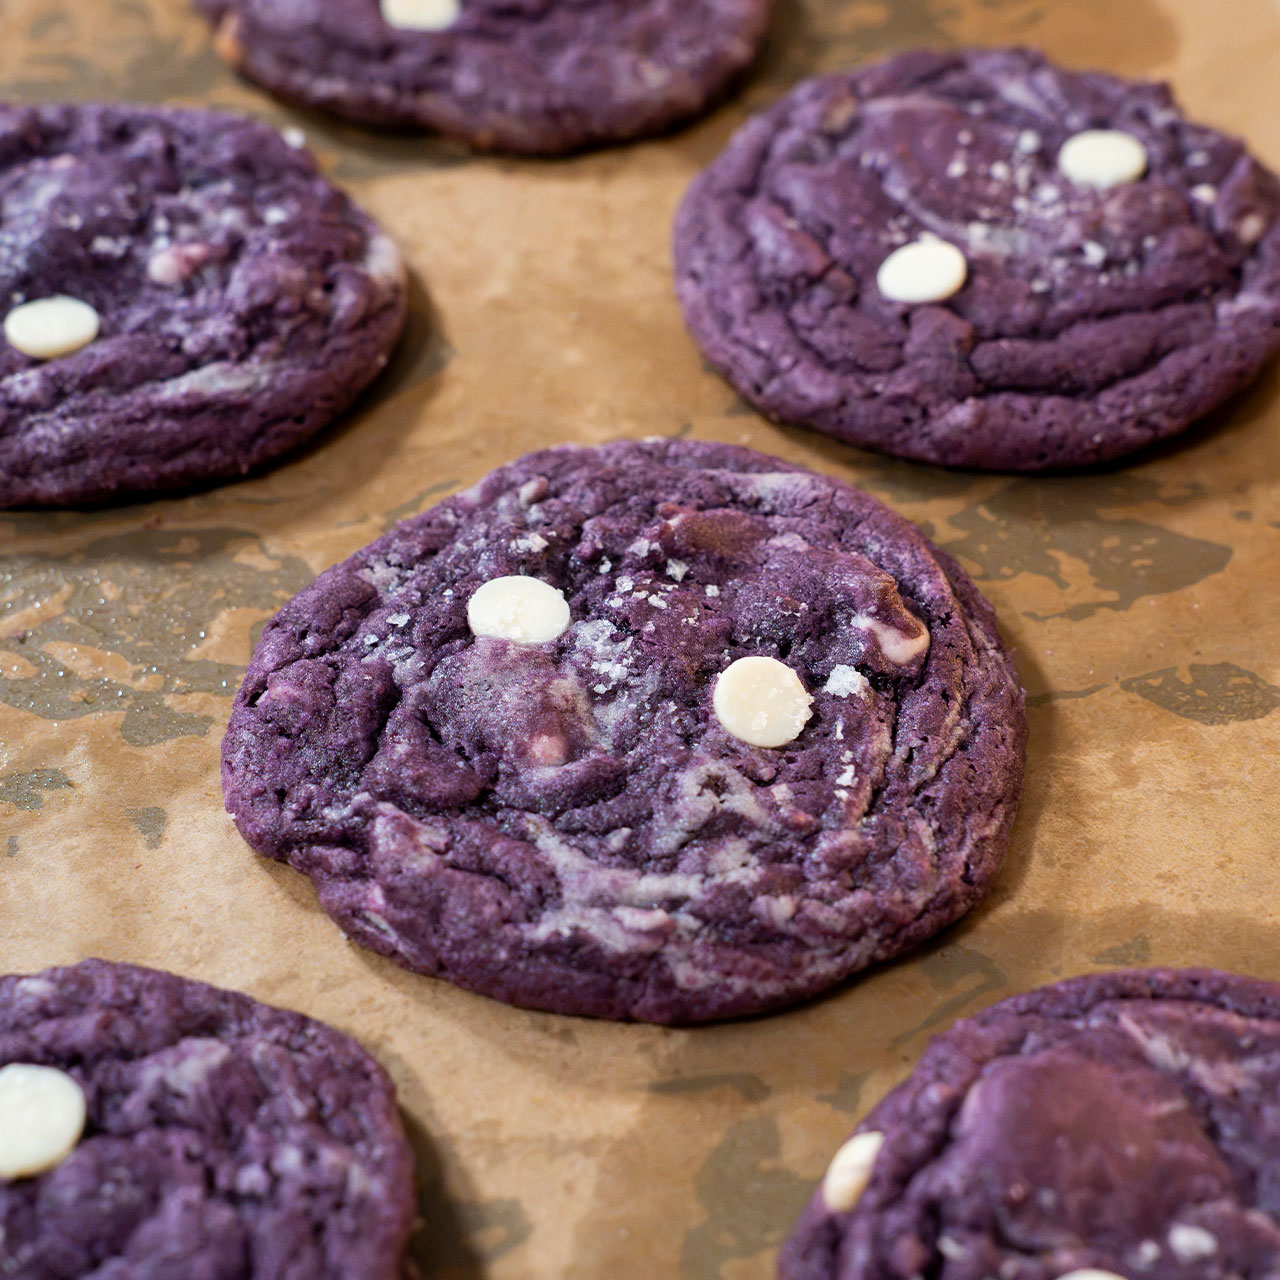
Ube Cookies Recipe with Cheesecake Bark
Table of Contents
The Mad Cookie Scientist
Cookies are actually one of the first things I learned how to bake – not counting the time when we were forced to bake ensaymada for class. It’s truly one of the easiest things you can bake, and I remember watching countless videos of people making them. Call it an obsession, but I was just too fascinated by how people can customize cookies with all these different flavours. I’ve always wanted to do it, but for some reason, I was just too scared. Coming from a non-professional background and as someone who just bakes for fun, I was too afraid to do recipe tests and fail. You’ll hear a lot of people say baking is a science, and I thought I needed to be a perfect scientist, or else what’s the point of trying?
But what I didn’t know back then is that failures lead to perfection, and maybe what I needed to do in order to truly enjoy baking was not to be a perfect scientist, but to be a mad scientist. So, I think it’s only fitting that the very first cookie flavour I explore is something I was obsessed with growing up, which is ube. I will never stop promoting ube when it comes to desserts. Even though it looks intimidating, the flavour profile actually complements a lot of other ingredients like cheese, coconut, toffee, and more!
For this recipe, I will be incorporating a cheesecake bark. I personally really like the ube and cheese combo, and I think cream cheese is the perfect pairing for a cookie! Topped with sea salt, and you have the perfect nutty, sweet, and salty cookie that is so fun to make. I will manifest it here, but this cookie will be the catalyst for my journey to continue exploring and recipe-testing cookies that I can hopefully one day look back on and happily say are the fruit of my failures as a mad cookie scientist.
And this, folks, is the beginning of my story… welcome to Breaking Kat!
Breaking Down the Recipe:
What are Ube Cookies?
Ube cookies are sugary and buttery baked goods that are made with ube halaya. The base is very similar to your usual chocolate chip cookie, where you combine butter, sugar, and flour, but with the ube, you get an added layer of nuttiness as well as vanilla notes.
Now, you may be wondering why it is purple? Well, ube is naturally purple and can even go to a deep purple depending on the type you are using. For this cookie, I used store-bought ube halaya (jam) and added ube extract to mimic the colour of ube pastries that we are all obsessed with.
For toppings, I used white chocolate. It’s the perfect blank canvas that will complement the ube well, as this particular ingredient is commonly paired with creamy ingredients such as milk, ice cream, and cheese. Top it with sea salt, and this cookie is the perfect balance of sweetness that will make you create two batches (one for you and one to give away).
I guess you can say that these are the cooler alternatives to your chocolate chip cookies… okay, fine. I may be biased, but they sure are great ube dessert options that will definitely have everyone drooling for more.
What is browning the butter?
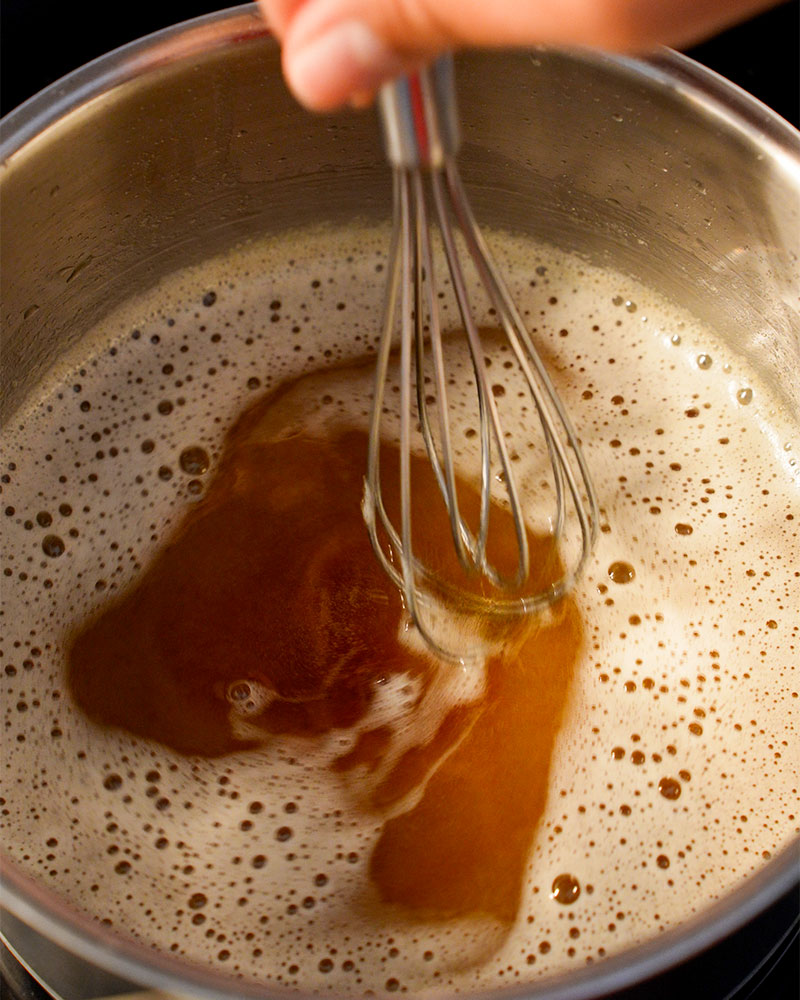
The first thought that comes to mind when it comes to butter is creamy (because it’s made from heavy cream), but what if I tell you that it can also be nutty? This is exactly what browning butter does. So, this technique is actually a way to give butter a deep and rich flavour. It’s the process of letting the water from the butter evaporate while melting it over heat until the milk solids become toasted – which gives it those nutty notes that elevate any baked goods.
A tip that I got when browning butter (and something that I want to pass on to you) is that if you think it’s brown enough, you might want to brown it some more. The first time I did it, I stopped once the milk solids became golden brown, but in actuality, you want them to be more burnt – similar to when you leave your toast in the toaster a little too long. Another thing is that when you brown your butter, you usually need to add more liquid to your recipe since the water from the butter has evaporated.
In this recipe, I have taken into account this liquid loss, so you don’t have to do anything – I gotchu!
Why add milk powder to your browned butter?
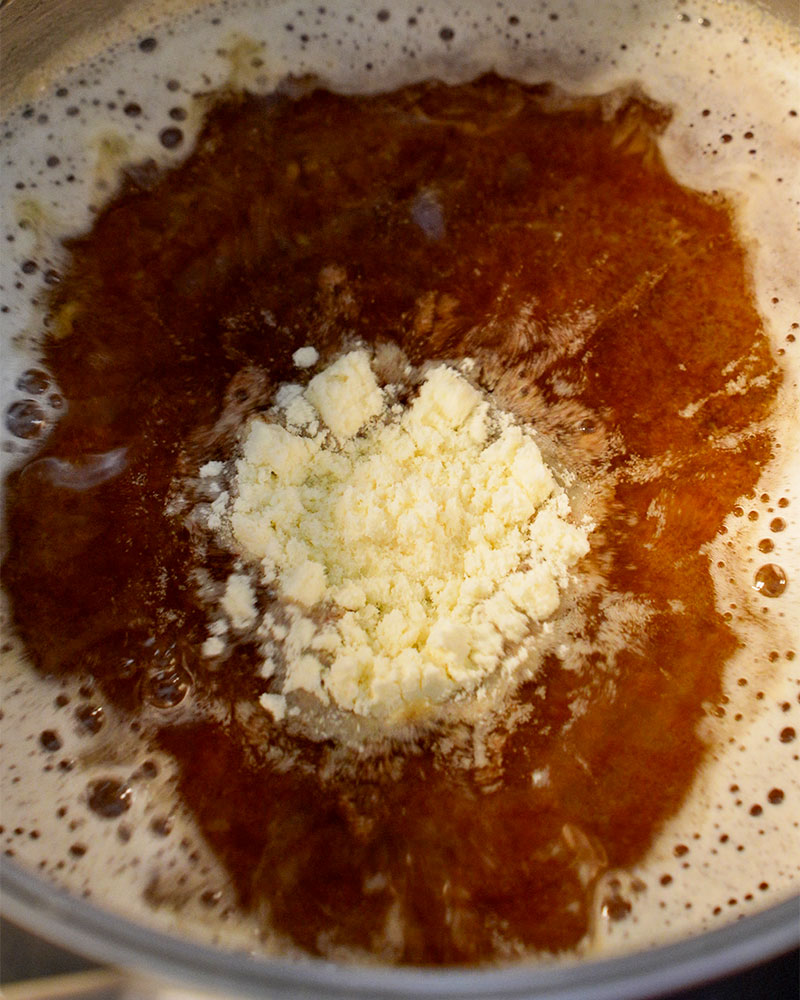
One of my favourite bakers is Grace Fahley (@betterbakesbygrace). She had this cookie recipe where she browned her butter and then added milk powder. Apparently, the toffee-like, nutty taste becomes even more prominent because you’re adding more milk solids through the powder. This is one of my favourite baking hacks/techniques, and I always try to incorporate it when I can! It’s one of those things that’s so easy but can make a huge difference.
If you learn anything from this post, I hope it’s this, because it’s kinda chic to pass on tips to people who love baking as much as you do.
What is white chocolate?
I have always wondered what the difference is between white chocolate and milk chocolate – like, why is it white? Well, apparently, unlike its counterpart, the main components of white chocolate are cocoa butter, milk solids, and sugar. This is why this particular confectionery is more on the creamy side and does not have any notes of bitterness, making it the perfect canvas for desserts that have specific flavouring agents, such as fruits, (in this case) ube, etc. The creaminess allows the other ingredients to shine through. I do admit, though, that I am not a fan of white chocolate on its own. However, for cookies, I do feel like it’s a nice touch, as it adds a depth of creaminess that cuts through the molasses-like flavour of the sugar.
Why use ube halaya or ube extract (maybe both)?
Ube halaya (jam) is made by mashing ube and mixing it with butter, sugar, and milk (i.e., coconut milk, evaporated milk, and/or condensed milk) until it turns into a thick, paste-like consistency. In the Philippines, we commonly use this in a lot of our desserts and pastries, as it gives a strong ube flavour that is perfect as a filling or even a topping.
Ube extract, on the other hand, is an artificial flavouring, similar to vanilla extract. Sourcing ube may be difficult, especially if you are outside Southeast Asia, which is where it originates. This extract helps give you the flavour of ube without actually incorporating the real stuff. Of course, like anything else, it may not give you a 1-to-1 exact flavour profile of ube, but it will give you the deep purple colour that we all know and love.
This is why a lot of dessert recipes use both – ube halaya for the strong ube flavour and ube extract for the signature deep purple colour. But if I had to choose one, I would say to stick with the real deal (ube halaya), because it will still be purple (just not as bright), and you will get that beautiful nutty, creamy, and sweet taste of ube.
Instructions:
*Detailed instructions and tips available in the recipe card below.
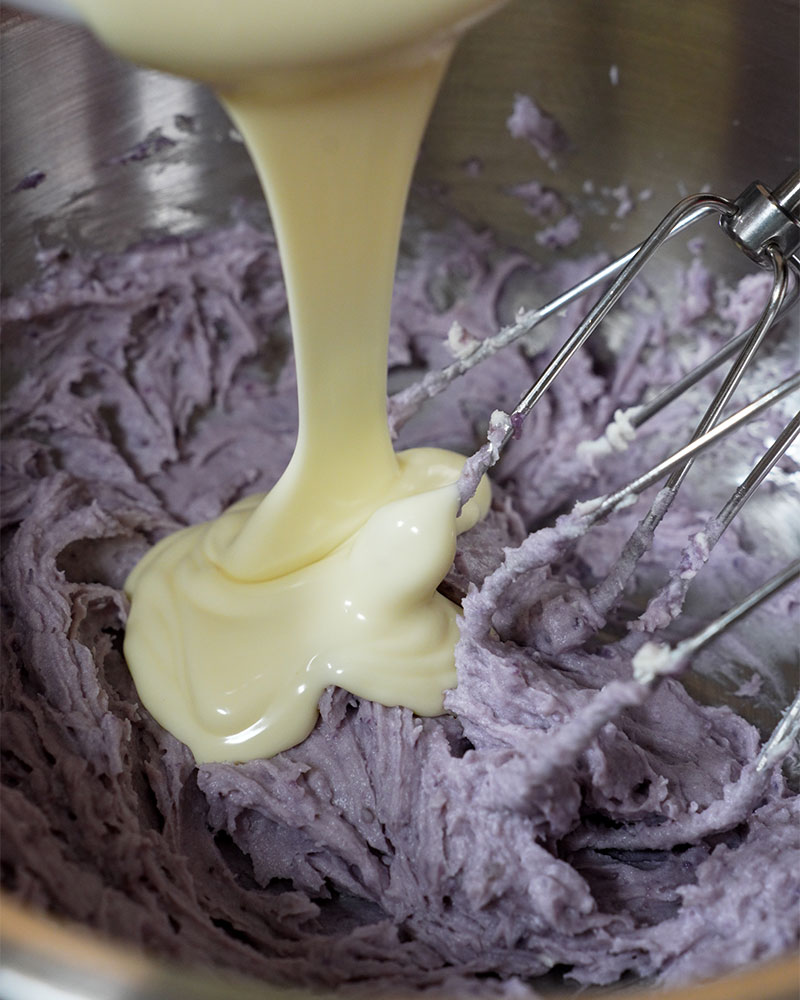
Ube Cheesecake Bark: In a bowl, whisk your cream cheese, ube halaya, and melted white chocolate until well combined.
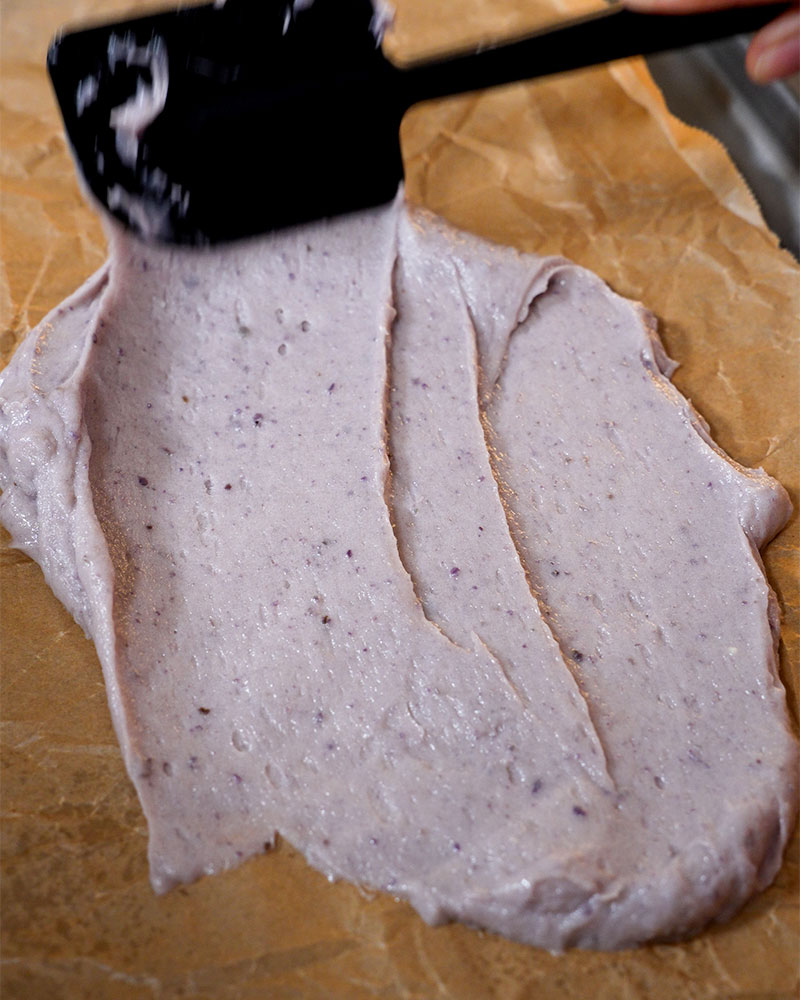
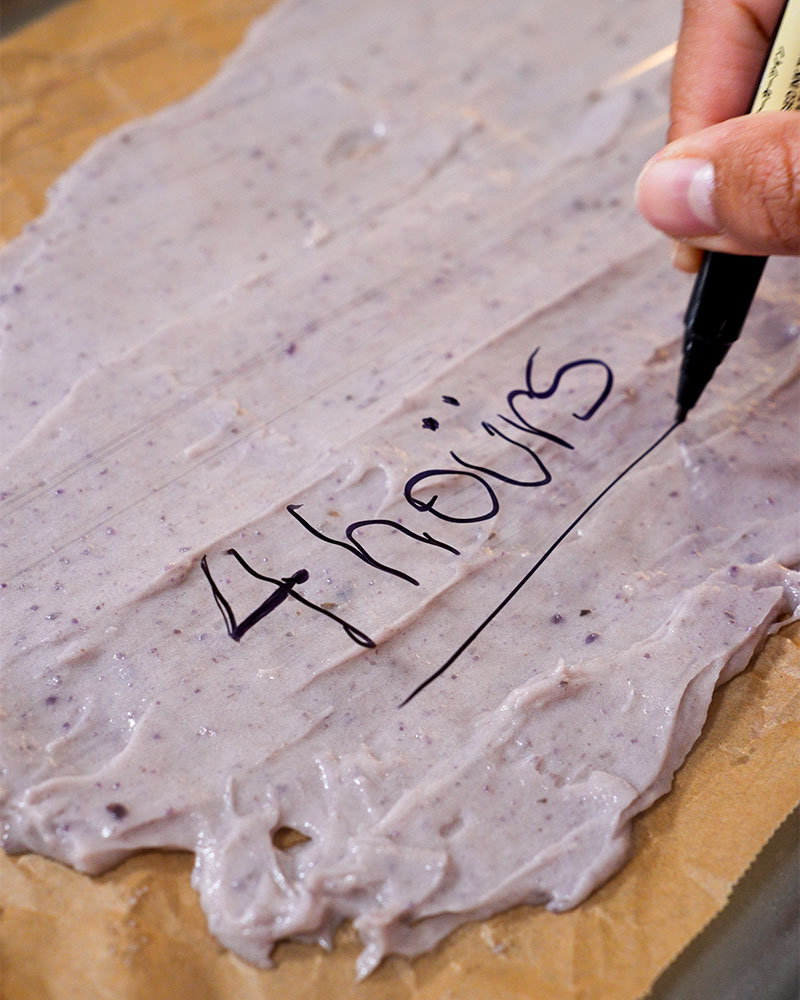
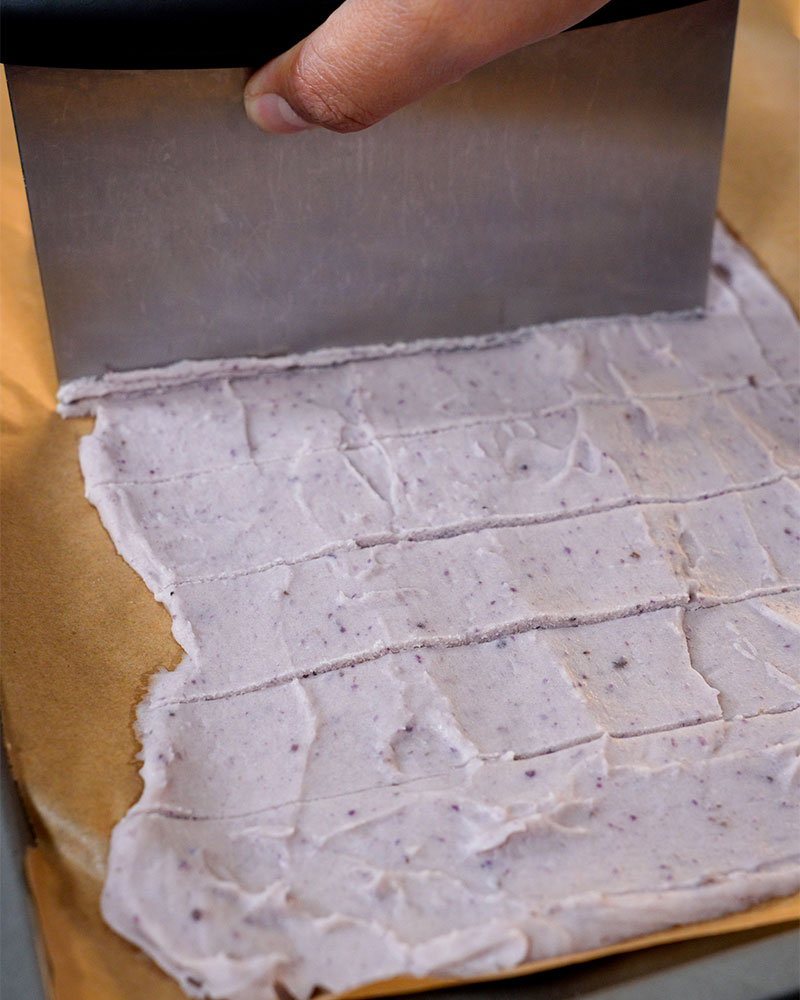
Thinly spread your mixture into a pan. It should be about as thin as cardboard, then freeze it for at least 4 hours or until it hardens.
Browning the Butter: In a saucepan over medium heat, add your butter and continuously stir until you see the milk solids forming at the bottom. Once it starts foaming, add your milk powder and cook until the milk solids become dark brown.
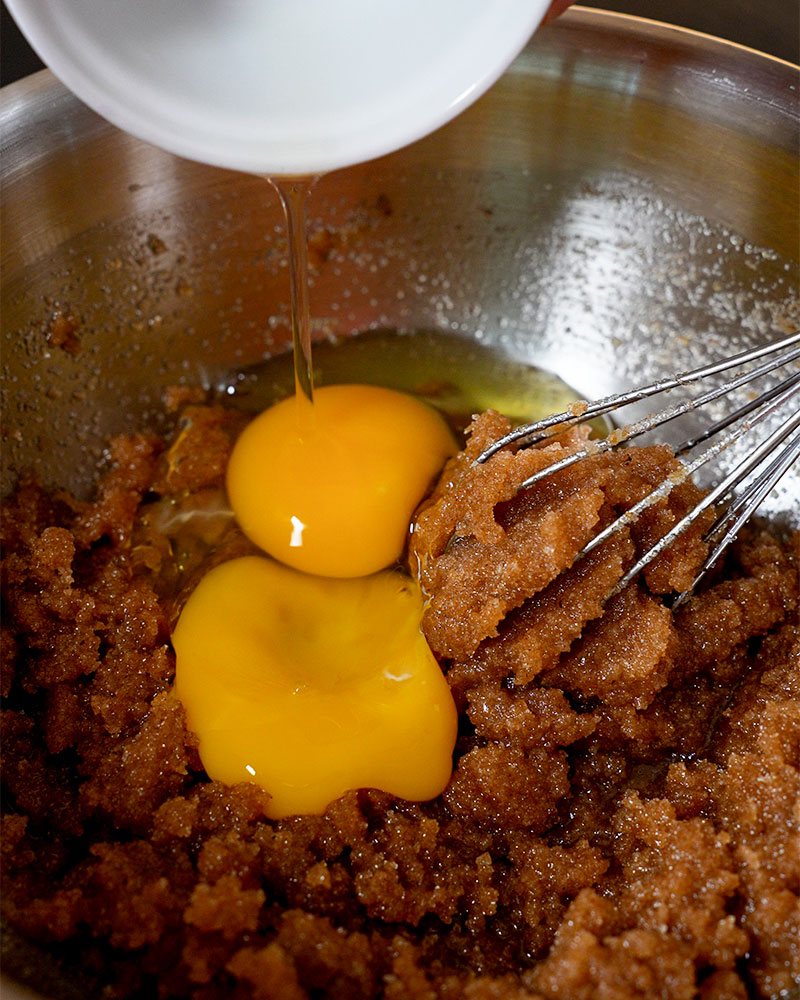
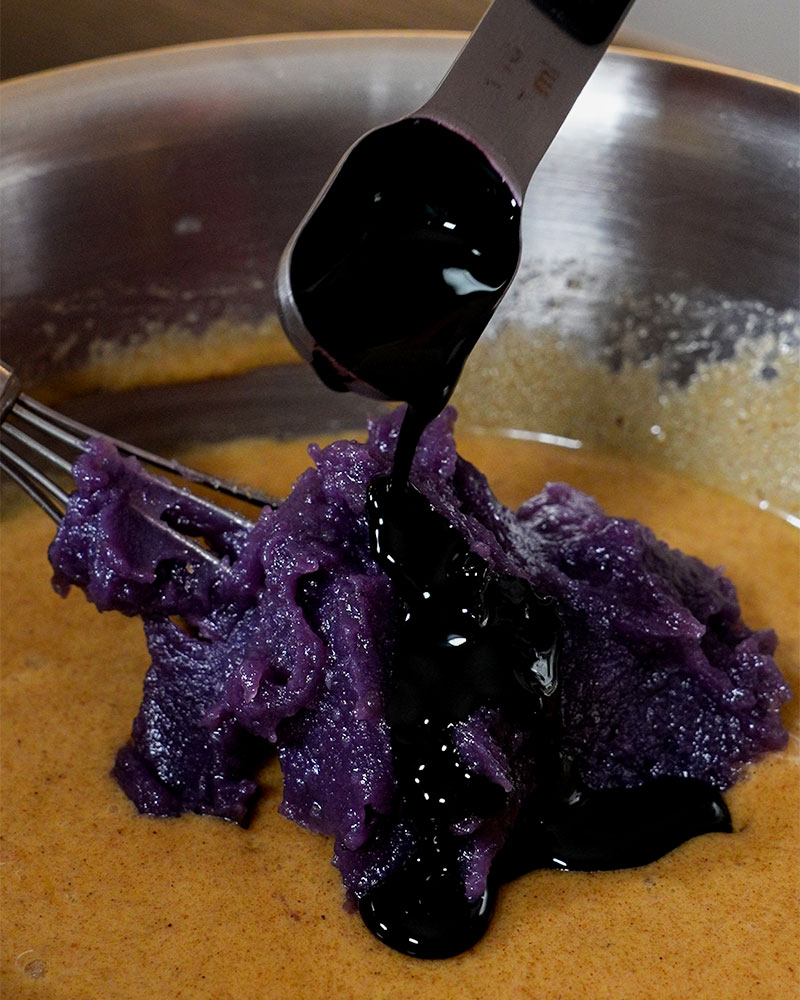
Cookie Dough: Once your browned butter has cooled down, pour it into a bowl with your brown and white sugar, egg and egg yolk, ube halaya, and ube extract.
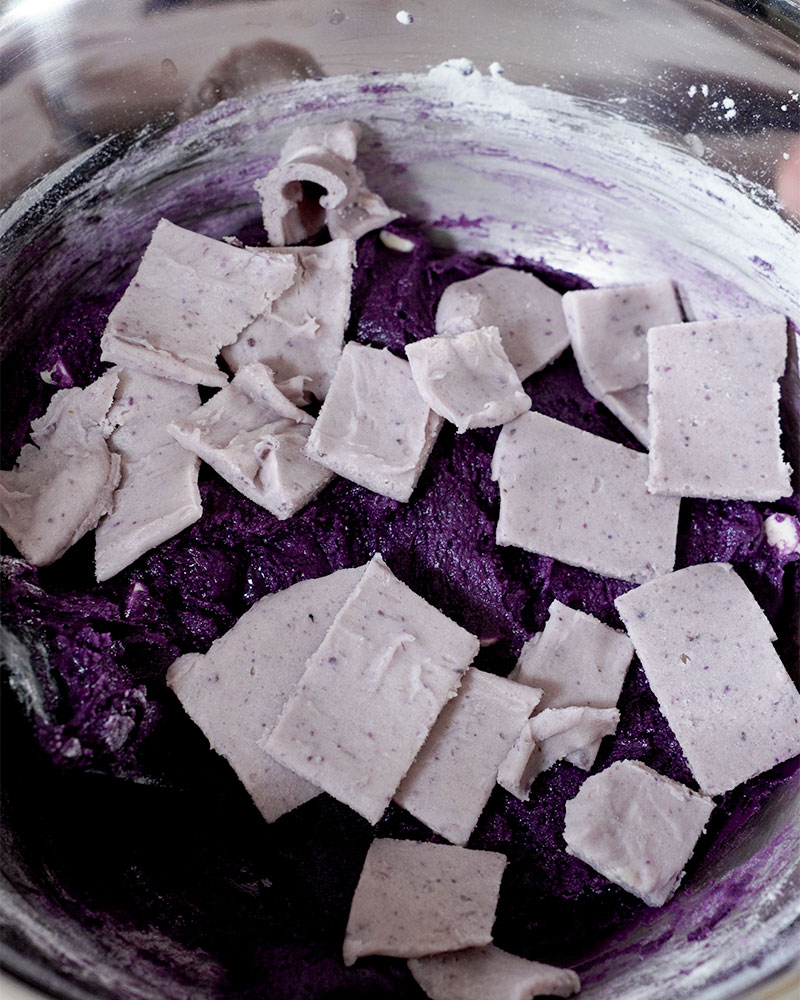
Before we add in your dry ingredients, make sure to prep your toppings – cut your cheesecake bark into small pieces/chunks and prepare your white chocolate (NOTE: Please make sure to put your cut-up cheesecake bark back in the freezer, as it melts quickly and we will add it last).
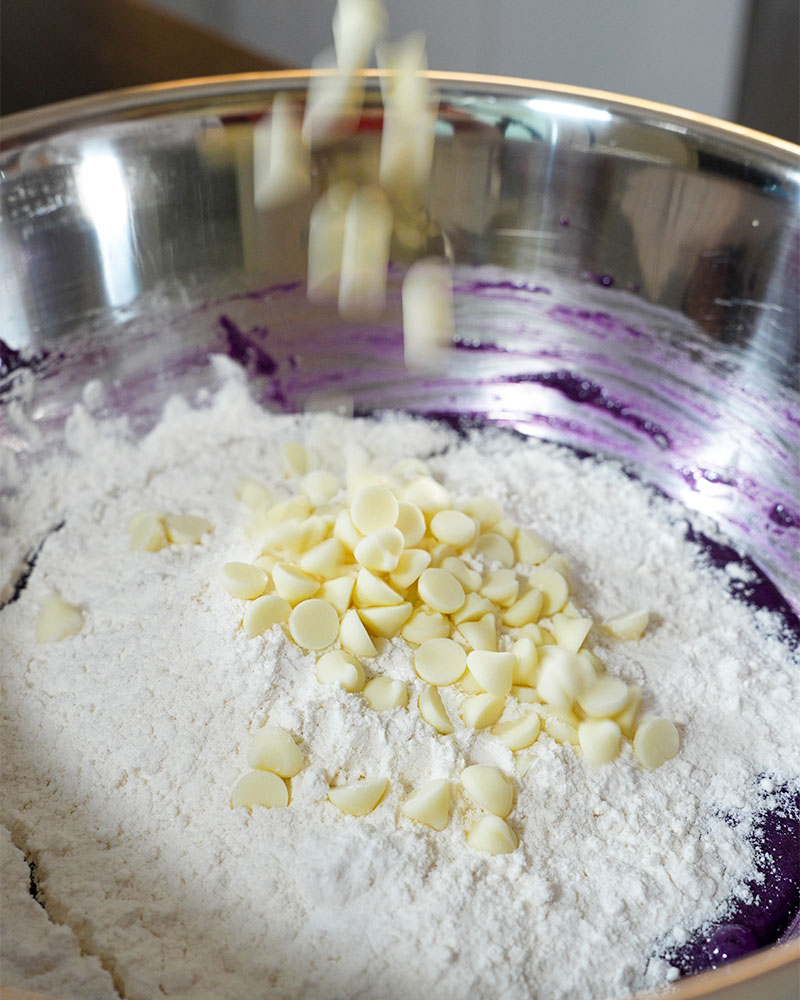
Add your dry ingredients and toppings to your wet ingredients, and ONLY mix until you no longer see any visible flour.
Before baking, preheat your oven to 350°F. While waiting, you can start scooping your cookies using 2 tablespoons and forming them into small, tall domes. Arrange them on a pan lined with parchment paper.
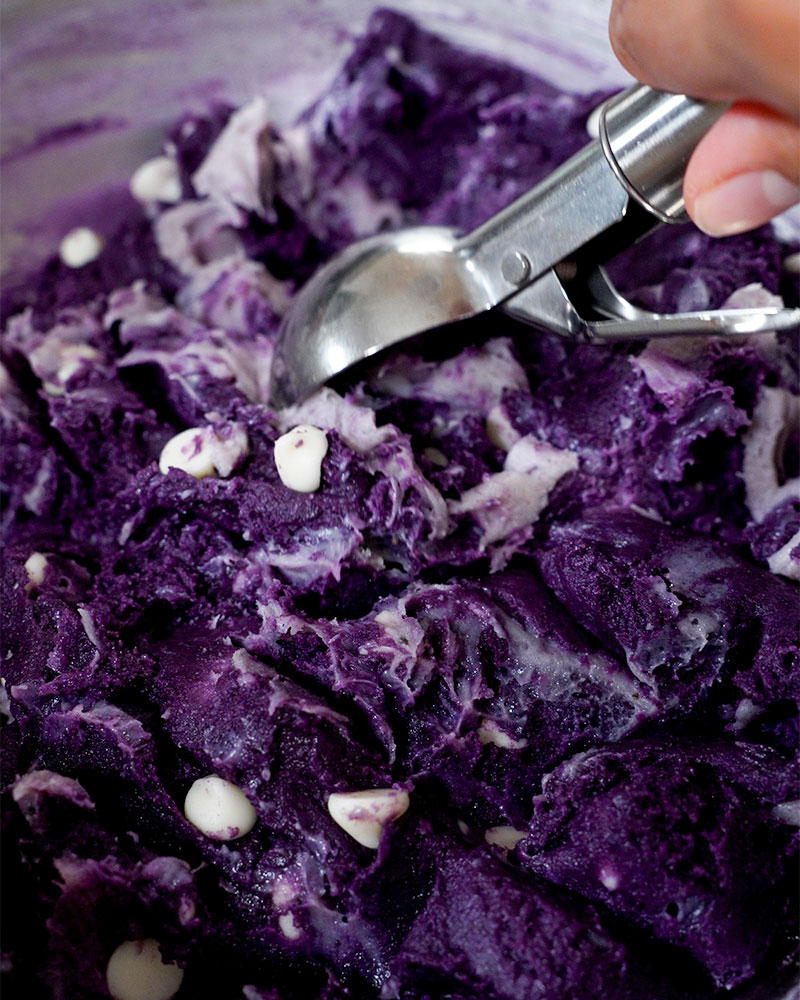
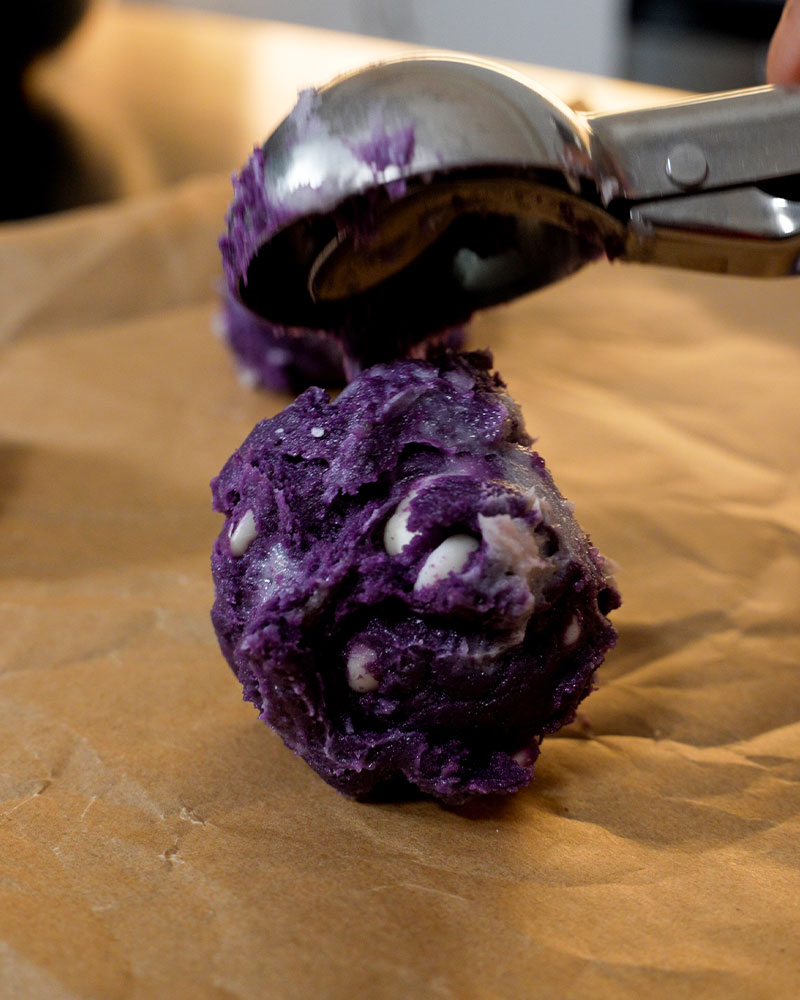
Top your cookies with sea salt before baking!
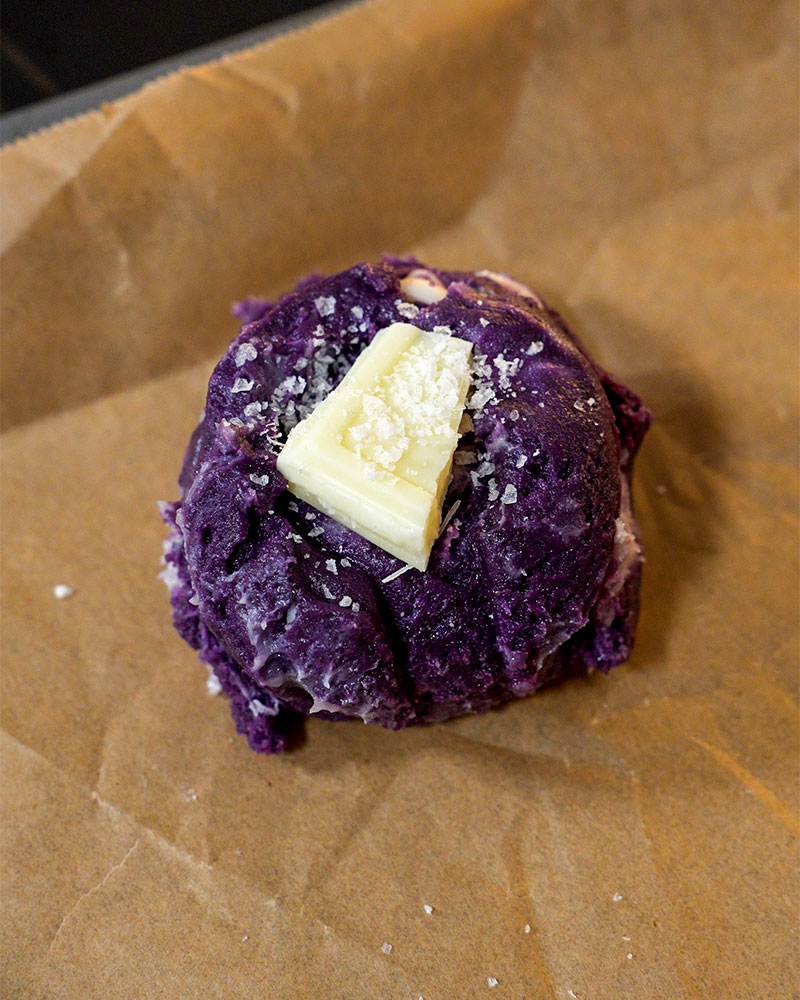
Bake your cookies for 10-14 minutes, or until the edges are set.
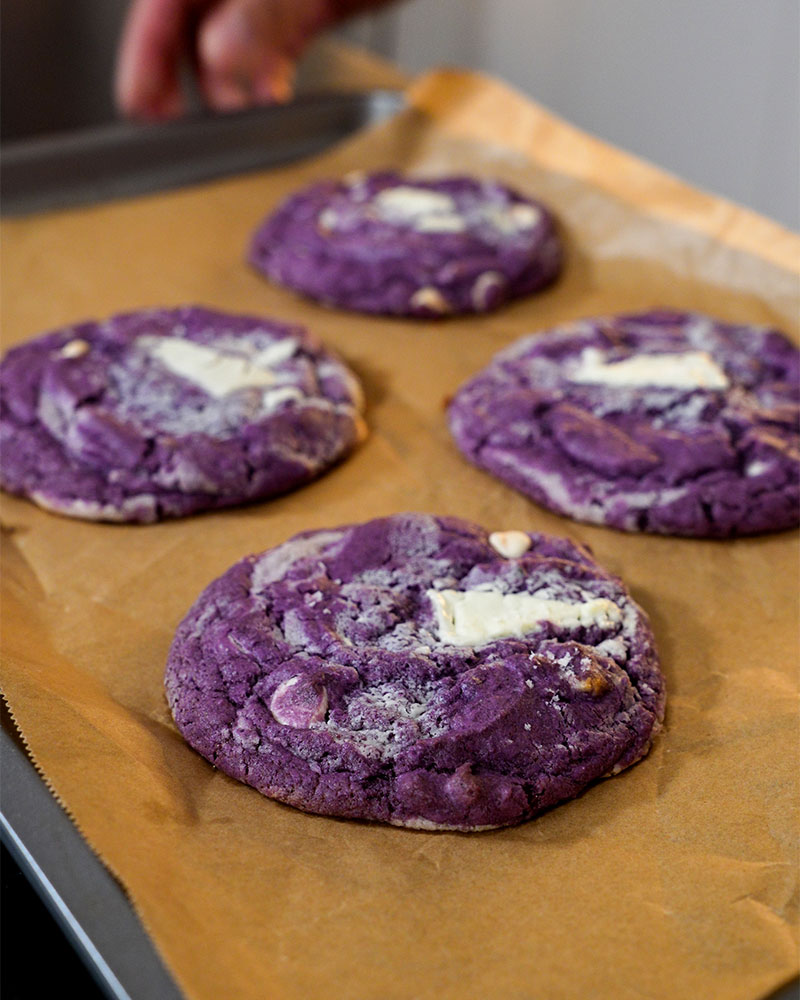
Let them cool for 10 minutes, and you’ll have your beautiful ube cookies! Enjoy them with cold milk or just as is, but trust me, once you finish one, it may be hard to stop yourself from eating the entire batch. This is the only addiction I support.
Ingredients:
Ube Halaya (or Jam)
This particular ingredient is known to be a labour of love in the Philippines because it takes a lot of mixing to achieve that smooth, creamy texture that is very addicting! For this recipe, I used store-bought ube halaya, which is available in a lot of Asian grocery stores. Kindly note that the sweetness level of store-bought ones can vary. Some may be sweeter than others depending on the brand. This is the one I used. It has ube bits, but I find that they add flavour to my desserts!
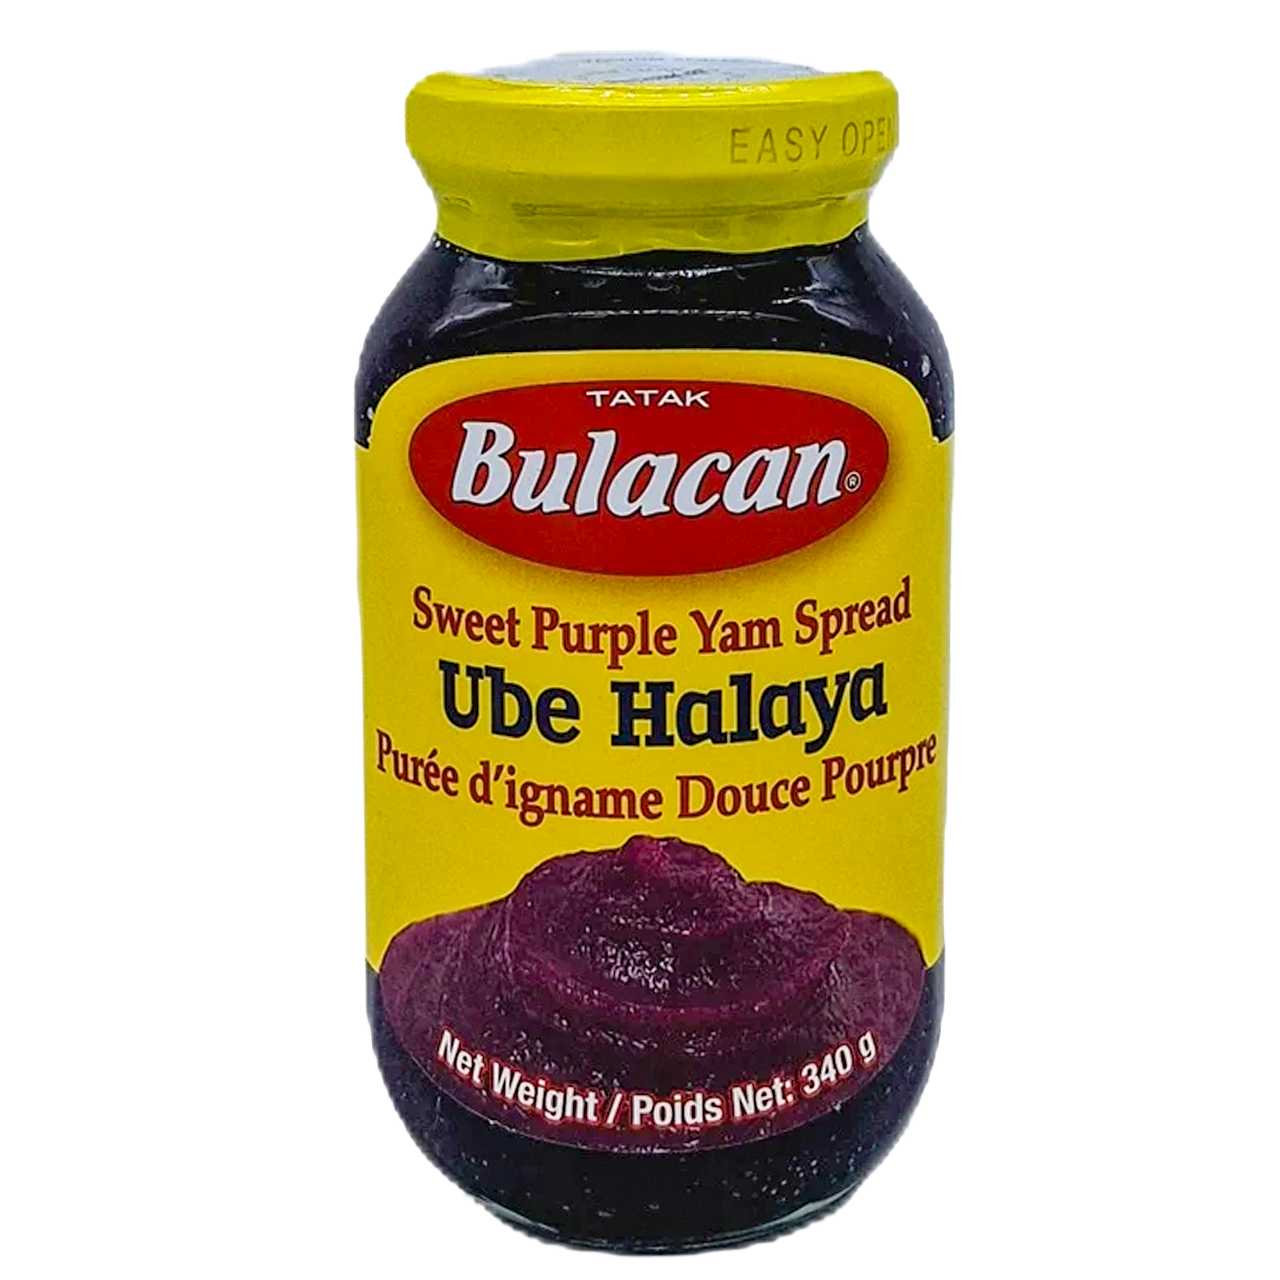
photo from eastwestmarkets.ca
Fun fact: This statement from White Chicks is true – “Easy white chocolate, I wouldn’t want you to melt.” White chocolate actually melts quicker than milk chocolate because it is made primarily of cocoa butter rather than cocoa solids.
Equipment:
*links below are affiliate links. If you buy through them, I may earn a small commission at no additional cost to you.


Ube Cookies Recipe with Cheesecake Bark
Ingredients
- 1/2 cup unsalted butter (115 g)
- 1 tsp milk powder
- 2/3 cup granulated sugar (145 g)
- 1/4 cup brown sugar (45 g)
- 1/4 cup ube halaya (90 g)
- 1 tsp ube extract
- 1 pc egg
- 1 pc egg yolk
- 1/2 tsp baking soda (3 g)
- 1 ½ cup all-purpose flour (225 g)
- 1/4 tsp salt
Cheesecake Bark
- 55 g ube halaya
- 55 g cream cheese softened
- 100 g white chocolate
- 2 tsp cornstarch
- 1/8 tsp salt
Other Toppings
- 50 g white chocolate chopped into small bits or you can use white chocolate chips
- 1 pinch sea salt before baking
Instructions
Ube Cheesecake Bark
- In a bowl, whisk your cream cheese, ube halaya, cornstarch, and salt until creamy and well combined.
- Before we add the white chocolate, we’ll need to melt it. I like using the microwave technique because it’s easier – you’ll put your pieces of white chocolate in a microwave-safe bowl and microwave it 3 times for 15 seconds each, making sure to stir it each time. Once it starts to melt and you just have a few bits left, you can simply stir it until everything is melted or microwave it for another 5-10 seconds.
- Whisk your melted white chocolate into your cream cheese mixture, then thinly spread it out in a pan. It should be about as thin as cardboard. Freeze it for at least 4 hours or until it hardens.
Browning the butter
- In a saucepan over medium heat, add your butter and continuously stir as it melts.
- As you continue to cook this, you will notice granules forming at the bottom; these are your milk solids. Once it starts to foam, you can add your milk powder.
- Continue cooking until the milk solids become dark brown. Remove it from the heat, then let it cool for 10 minutes.
- Once your browned butter has cooled down, pour it into a bowl with your brown and white sugar, then whisk until you get a very wet sand-like consistency.
- Add your egg and egg yolk, then mix until smooth. Add in your ube halaya and ube extract, and make sure everything is well combined!
- Before we add in your dry ingredients, make sure to prep your toppings – cut your cheesecake bark into small pieces/chunks and prepare your white chocolate.
- Add your dry ingredients and toppings to your wet ingredients, and ONLY mix until you no longer see any visible flour.
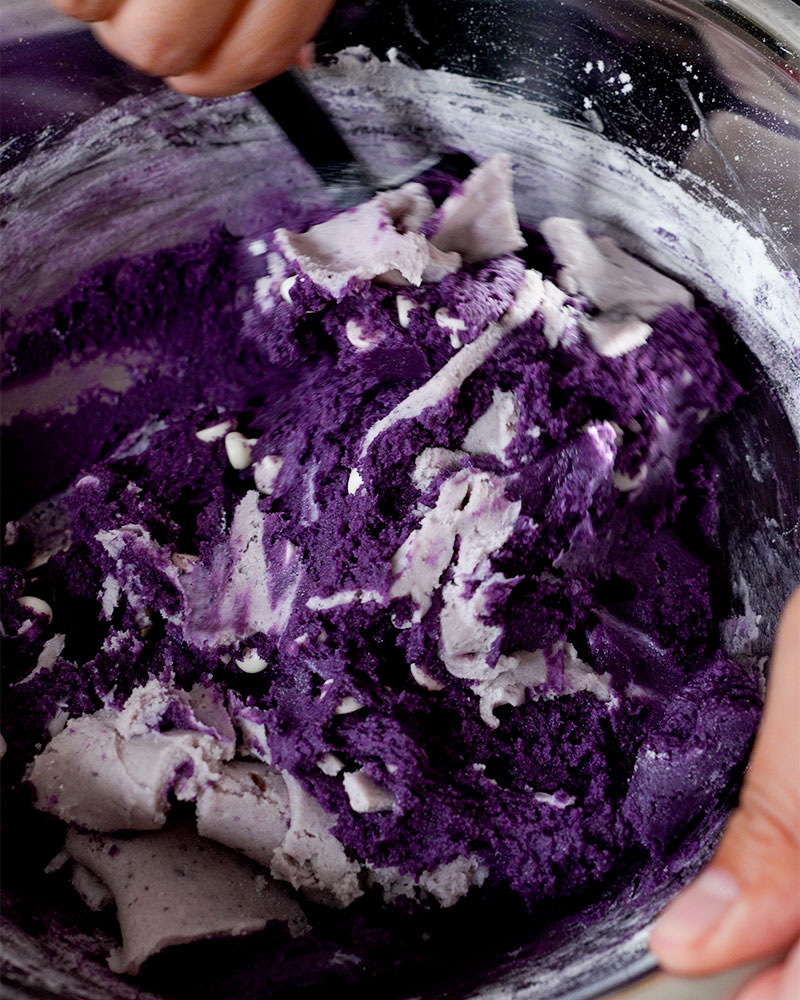
- Add in your cheesecake bark last, then gently fold until it is evenly distributed throughout your dough. Again, no need to overdo it!
- Optional: Let your dough chill for at least 1-2 hours in the fridge.
- Before baking, you need to preheat your oven to 350°F. While waiting, you can start scooping your cookies using 2 tablespoons and forming them into small, tall domes. Arrange them on a pan lined with parchment paper.
- Top your cookies with sea salt before baking!
- Bake your cookies for 10–14 minutes, or until the edges are set.
- Let them cool for 10 minutes, and you’ll have your beautiful ube cookies! Enjoy them with cold milk or just as is, but trust me, once you finish one, it may be hard to stop yourself from eating the entire batch.
Kamusta?
I’m the hungry, and the curious Kat!
If food is a love language, then call me a linguist. I love experiencing life through food, and it’s something I enjoy sharing with others. I hope my recipes and stories inspire you to pick up that pan and start cooking – ’cause why not?
If you made my recipe, I would love to see it! Pleaseeee tag me, gurl!


